Moto Guzzi California Motorcycles
Moto Guzzi California Motorcycle Owners News, Reviews and More
Four way flashers installed on Moto Guzzi
 It is surprising how many motorcycles do not come equipped with four way flasher hazard lights. My 2007 Moto Guzzi California Vintage also did not have them, until now.
Because I’m volunteering as a motorcycle marshal in the Bike MS Breakaway to the Beach, and will be riding well below the speed limit most of the way, I decided to install four way flashers on my motorcycle.
After some research, both online and in local motorcycle shops, I realized that installing four way flashers on a Moto Guzzi California (or any other motorcycle), is a relatively easy do-it-yourself project. So I did it.
Below, I explain which parts I used and how I installed hazard flashers on my 2007 California Vintage.
Understand that I am not a trained motorcycle technician. If you wish to install four way flashers on your motorcycle, I hope you find this article helpful. If following this to do it yourself, it is done at your own risk. I did not invent this technique, but simply adopted it from others that had suggested it. It worked for me exactly as I hoped it would, so thanks to those that suggested it
The parts required came to about $25 USD. You may be able to do it for a little less. I used what I felt were good quality parts. I purchased everything from an automotive parts store and an electronics store. here is the parts list:
- DOT approved flasher with 2 poles rated for 6 lamps (to run the 4 signal lamps and 2 indicator lamps)
- weatherproof ATO fuse holder (see photo)
- ATO fuse 10 amp (one just like it is used in the bike’s fuse box already)
- double pole double throw switch (DPDT)
- 18 gauge stranded hookup wire (I used black, red and green color wires)
- heat shrink tubing (black and red colors)
- wire crimp terminals (3/8″ i.d. ring, blade receptacles, blade splice)
- nylon wire ties
 I had a hard time deciding where I wanted to mount my hazard light switch. My first idea was to mount it in some sort of holder that would use the 2 screws that attach the rear view mirror next to the left switch pod. I also considered mounting the switch to the instrument panel that holds the tachometer and speedometer.
Although I liked the instrument panel location the best, I decided against it because it looked like too much hassle to take all that apart, drill a hole for the switch, and route wires under the fuel tank, etc. I finally decided to mount my hazard light switch on the steel plate that the seat lock key switch is mounted to. For those not familiar with the modern era Moto Guzzi California, the seat lock switch is located on the rider’s left, just forward of the left side cover.
While this may not seem like an obvious location for a motorcycle hazard light switch, I chose to put it there for several reasons that ended up working out quite well:
- Within fairly easy reach while riding, but will seldom be used.
- Right near the battery where there is space to mount the flasher and fuse.
- Very close to the turn signal cable connectors where I wanted to tap into.
- Very easy to remove the seat lock key switch mounting plate.
- Space behind it for hazard light switch body and wires to be routed.
- Location provides a clean, inconspicuous factory installed look.
- Short distance to the new flasher and fuse located under the tool tray next to the battery.
 With that location decided, I began the four way flasher installation. First, I prepared the new fuse holder. I crimped a blade receptacle connector to one end of the fuse holder wire. This will plug onto a blade post on the flasher. Next, I crimped a 3/8″ i.d. ring terminal to the other end of the fuse holder wire. I covered the blade connector plastic housing with red shrink tubing. This will go onto the positive battery terminal because I want the ability to run the hazards without the ignition key in place.
For the other blade terminal on the flasher, I cut a length of black 18 ga stranded hookup wire that will run between the flasher and will bridge the two top terminals on the rear of the dpdt switch. At one end, I crimped on a blade receptacle that will plug onto the other blade on the 552 flasher and covered the plastic housing of the connector with black shrink tubing.
Soldering wires to the dpdt switch was the most difficult part of the entire project for me. There are only 3 wires to solder to it, but I have to admit that I relied on my electrical engineer friend to do the soldering for me. I tried several times, but I just couldn’t get the wires to take to those tiny posts on the switch.
I suggest that if you are inexperienced with soldering, take your wires and the switch to someone that is. My friend got the 3 wires soldered to the switch, securely and professionally, in about 15 minutes without any problem. We covered the entire rear of the switch with shrink tubing afterwords. I failed to take a picture before we applied the shrink tubing – sorry about that!
 There are 6 terminal posts on the back of a dpdt switch. Only 4 of 6 are utilized for this. On my switch, I now have a length of new black wire (that connects to the new flasher) soldered across the top 2 terminals. I have a length of green wire soldered to one of the middle terminals, and a length of red wire soldered to the other middle terminal. The colors do not matter and you don’t really need them to be different colors. The bottom two terminals on the switch are left alone with nothing connecting to them. And, as I mentioned, this was then protected with a large enough piece of shrink tubing to fit over the entire switch body from the mounting face back over the wires for about 4 inches.
Now I was ready to mount the hazard light switch. I found it easiest to start at the battery area and gently guide the switch body down and over to the seat lock switch mounting plate through the frame tubes and near existing cables.
At this point, my fuse holder is attached to the 552 flasher. My switch is now mounted to the bike, and my wires are routed to the area under the seat near the battery compartment and behind the ECU box. I used a few small nylon cable ties to bundle the wires cleanly along their route.
There were 3 terminations to crimp on. First, a female blade receptacle onto the black wire that goes to the 552 flasher’s second post. Second, a male blade terminal onto my red wire from the switch to one splice connector. Third, another male blade terminal from my green wire to another splice connector. The splice connectors join the red wire to one of the rear signal light wires, and the green wire to the other rear signal light wire. I joined them to the rear signal lights just because the connectors for them are right under the seat and easy to access.
Before splicing, I verified that I had the correct wires by disconnecting one of the rear signal light cables and turning the signal on, then repeated that with the other signal cable. The turn signal cables have 2 wires. I spliced into the lighter colored wire on each (connects to the green with black stripe wire on one side and to the light pink wire on the other side).
I wonder why the Moto Guzzi California, and many other motorcycles, didn’t come with four way flashers from the factory? I consider this a desirable safety feature. I ever get stuck in a heavy downpour, in heavy fog, or if I ever had to stop on the side of a highway for some emergency, I would certainly want them on. Seems to me that four way hazard flashers should come standard on all motorcycles and scooters. I’m glad I installed this on my motorcycle and will be glad to have them during the MS fundraiser ride.
Categorized Under
About John Clay
Suggested Articles
-
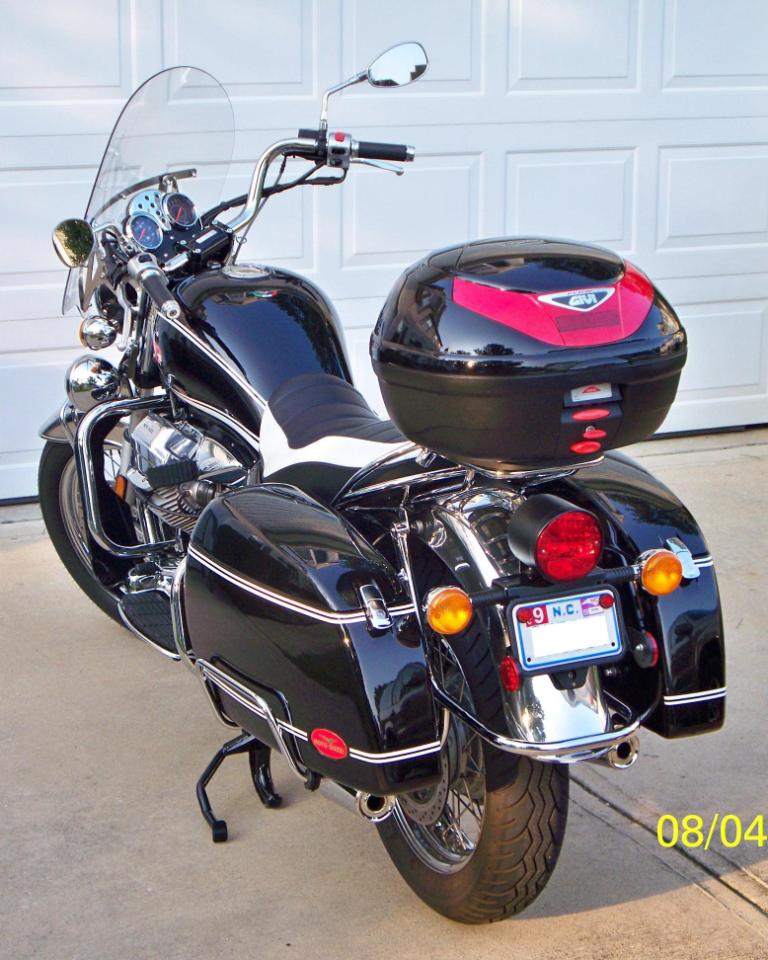
Mounting a Givi Top Case on a California Vintage
A top case on a Moto Guzzi California can also serve as a passenger back rest, and you can add a pad to the top case to make it a little nicer for your passenger.
-
Four way flashers installed on Moto Guzzi
Four way flashers, also called hazard lights, are not standard on all motorcycles. Many motorcycles do not come equipped with them. My 2007 Moto Guzzi California Vintage did not have four way flashers until now.
-
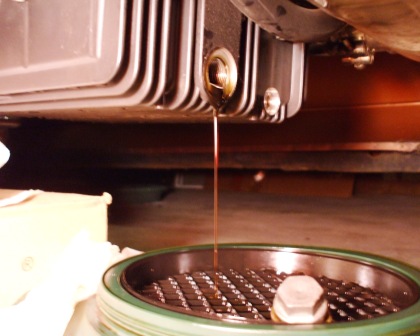
Moto Guzzi California oil change
Moto Guzzi California sump pan removal isn’t difficult for doing an oil change. Here I show how to change the oil and oil filter on a Moto Guzzi 1064 cc v-twin engine.

The method in the article, using a DPDT toggle switch and connecting to the battery, allows me to simply turn on the hazard lights with this one switch, with or without the ignition turned on, and without having to activate the turn signal switch. I find it convenient and easy to use. I prefer to be able to turn on the hazards without the ignition on, especially if I need to leave the bike unattended for any reason. Still working perfectly after 7 years. This method works well for me, and thanks to others from the Guzzi owners community for sharing their ideas too.
John
Why a DPDT switch? Can a regular toggle switch be used?
. . . . . oh yes . . . . I did forget . . . .
You also have to have your signal switch
either left or right ON when you turn ON
the 4-way switch . . . in order to get
the 4 way flashing . . . . a bit more to think about
. . . . but easy to get used to !?!
Klaus
Good article on 4-way’s
I did like Valdo . . . just put a n/o switch
across the two signal wires (left & right)
without any other changes . . . .
. . . been running like this for over
10 years on my 2000 Jackal !
Klaus
Vando: Does your method mean that the ignition switch has to be on and the turn signal (either left or right) also on?
Vando: sounds good -does it have to be the front positives, or is it ok to go into the rear ones?
Easier than that!
Tap into both positives from the front turn signals with the use of two separate pieces of wire and connect them to an I/0 switch / pushbutton / whatever switch and secure it somewhere of easy access!
no need for new relays and such although a 10A inline fuse can be used as a precaution.
take care and safe driving! 😉