Moto Guzzi California Motorcycles
Moto Guzzi California Motorcycle Owners News, Reviews and More
Battery Tender Junior installed on Guzzi
 A few articles ago I showed how and why I installed 35W bulbs in place of the factory 55W bulbs in the fog lights on my California Vintage.
To put an end to any lingering battery worries, I bought a Deltran Battery Tender Junior. I love this gadget and wanted to share a few installation tips and photos.
All the popular online motorcycle parts stores carry them, including JC Whitney, Motorcycle Superstore, Cycle Gear, and Bike Bandit. Prices vary at each, so compare policies and shipping as well as price. I bought mine at a local motorcycle parts store for about $30.
My riding friends have been using these on their motorcycles for a few years, and now I see why. You can use it on cars, riding mowers, or anything that has a 12V lead-acid battery. There are 6V version too. On my first day with it, I tried it on my motorcycle and my riding mower and it worked just as I hoped it would.
 One of the best things is that the Battery Tender Junior comes with two special cable harnesses. Each has a 7.5 amp replaceable fuse. One harness can be installed onto your motorcycle (as I did) for quick and easy plug-in access. The other harness has traditional jumper clamps that you can use for other vehicles.
 The harness for the motorcycle has ring lug terminals for screws, and has a special connector at the opposite end that plugs into the Battery Tender’s cable. It is long enough to mount it in a discreet location on the exterior of the bike for easy access without having to remove the seat or battery cover each time you plug in.
The special connector on both the motorcycle harness and clamp-type harness has a tethered removable cover that keeps the connector clean from road grit, dust, etc.
To install the harness on a Moto Guzzi California, just remove the seat and the tool tray, then unscrew the cables from your battery. Place the ring terminals onto the battery screws (obviously red to red and black to black) along with your original battery cables, and then tighten the battery terminal screws back down.
 I actually ran into a little trouble trying to get the terminal screws started back in. The battery terminals on my California each have a rectangular nut that floats inside of a slot that keeps it captive. When I tried to put the screw back in, the nut was sitting at the bottom of the slot, just a hair out of reach from the screw. The screw just would spin and not engage as I tried to tighten it.
 My first thought was to find a longer screw, but since the ring terminal on the harness is quite thin, the need for a longer screw did not make sense to me.
I had a few small plastic wire tie wraps handy to secure secure cable. I found that if I bent one to an “L” shape (see photo), I could slip the head of it just below the nut to lift the nut upwards in the slot within reach of the screw. This little trick allowed me to avoid having to remove the battery from the bike and only took a few minutes.

 To lift the nut inside the slot, I slightly fastened the bare screw (without the cables) and lifted the screw upward while I slipped the head of the tie wrap below the nut from the side of the battery terminal. With the wire tie head now holding holding up the nut for me, I removed the screw, placed it through the the group of wire terminals, and was able to start the screw back into the nut to tighten down the cables.
The original screws had plenty of thread engagement, so I felt no need to replace them with longer ones. Also, longer screws could possibly get driven right into the battery and cause damage when tightening them down.
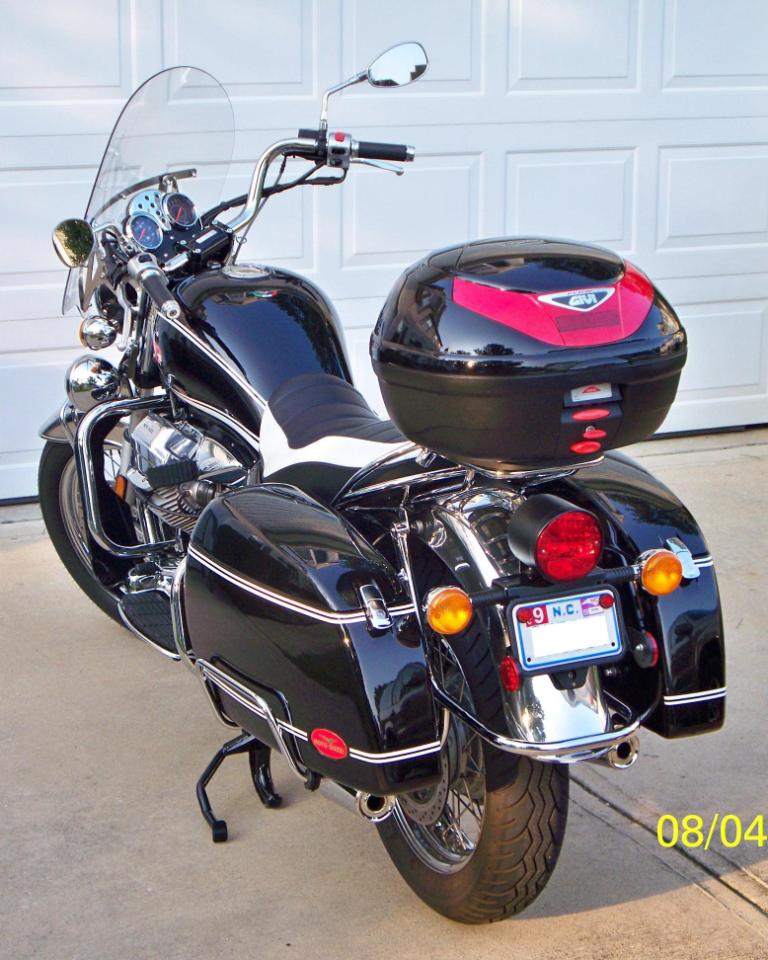
Once the cable was connected to the battery, I positioned the connector in a convenient location to access for connecting the charger. Where you mount it is up to you, but I chose to mount mine against the chrome grab bar near the upper shock absorber mount. I fastened it with a nylon wire tie under the little raised loop on the bar that the seat rubber snubber sits against.
 I’m trying this spot for now, and I may move it to a better location later. I chose to put it in a place where I would not have to remove the seat each time I connect the Tender. Keep in mind that you could just use the cable that has the clamps and not bother mounting this extension cable, but then you’d have to mess with your seat each time.
Because the Battery Tender Junior is fully automatic, it can’t over-charge or harm your battery because it has a built-in circuit that knows when to charge and how to charge, based on the condition of your battery. It has a status indicator light that lets you know what is going on with a quick glance from across the garage. Great feature!
The Battery Tender Junior (12V model) status indicator light has several codes. They are:
- OFF – when connected and plugged in means it is not working because no AC power is coming in.
- FLASHING RED – means AC power is good and the unit is functioning, but if flashing red continues, it means the battery has less than 3 volts and is too low, or you don’t have the battery connected properly to the Tender cable.
- STEADY RED – means the battery is connected right and the Tender is charging it.
- FLASHING GREEN – means the battery is more than 80% charged.
- STEADY GREEN – charging is complete and battery is ready to use.
- ORANGE – abnormal condition means that you have a bad sulfated battery or your connections are bad between the charger and the battery.
 The main thing I really like about the Battery Tender Junior is that it is fully automatic. Because of this, I can leave it hooked up for extended periods of time – such as during the winter, or during all the hottest weeks of the summer. As the instructions mention, “periodically check the battery to see if it is unusually warm” when keeping the charger connected for weeks or months.
I’ll be using mine on my Moto Guzzi California, my riding mower and on an older car that I don’t drive very often. This will certainly get a good workout! I have any problems, I’ll be sure to update this. Please feel free to leave a comment to share your thoughts or experiences with using a battery maintainer like this one.
Categorized Under
About John Clay
Suggested Articles
-
Top 5 reasons to own a Moto Guzzi California motorcycle
The Moto Guzzi California is not quite a cruiser, not a sport bike, and not entirely a standard either. What is it? It is a unique and darn good handling motorcycle that you can enjoy riding for years and years!
-
Mounting a Givi Top Case on a California Vintage
A top case on a Moto Guzzi California can also serve as a passenger back rest, and you can add a pad to the top case to make it a little nicer for your passenger.
-
Riding my Guzzi California in cold weather
If you are like me, it is a little agonizing to not to be able to ride your motorcycle (hopefully a California) during the bad parts of the winter. I…

I have one of those and work to good on my battery
-I see that this has the same style of connectors as on my Oxford solar panel charger, & I noted that on that, the male bullet which is left on the bike (& is exposed to possible contact with other parts when not in use) is the POSITIVE! I always put a blanking rubber tube over this when not in use…
Nice write up. I have the Junior on my tractor that sits for six months and it has always done the job.